-1.png "CEWT Talk Podcast Side Banner (blog)-1")

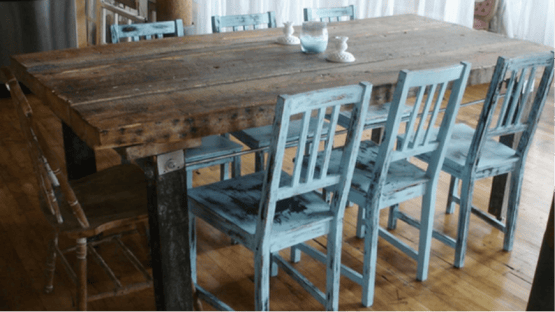
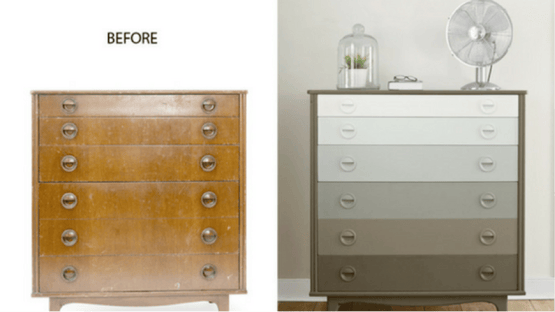
Whether you are attending college or are broke beyond all reason, a great way to save money when it comes to home style is by obtaining secondhand furniture. This can save you hundreds of dollars toward other things, but the only problem is when you get furniture this way, it’s not always in the best condition.
Doing this can both beautify items and greatly increase their value. It is also fairly economic – given you know what you are doing and have a good plan. It sounds like a lot of work, but it’s more simple than you might think. Below are a few steps on the “how to” for both starting and finishing painted furniture projects like a pro – free of stress!

Step 1: Planning Your Project
Planning is not the most fun part of starting a project, but it is the most important to avoid headaches. It doesn’t have to be extensive either: All you need to know is what you are going to work on, how you want it to look, when you are going to work on it (and have it finished by), where you plan to keep everything, what supplies you need, and how much it will cost.
The most important part of this is getting the right paint. There are a few local stores where you can find this, like The Elwen Cottage, Sherman Williams, Home Depot, and Lowes in Pocatello, and Cushman’s Paint and Glass, Blackfoot Paint and Glass, and Ace Hardware in Blackfoot.
Step 2: Getting Started
Once you have everything you need for your item such as paint supplies (which include sanding paper, rollers, plastic, primer, the paint, tape, a tray, and rags) you can start your project. If the furniture piece has any drawers or knobs, you’ll want to remove these first, then take your piece and supplies either outside or into a work area you can get dirty.
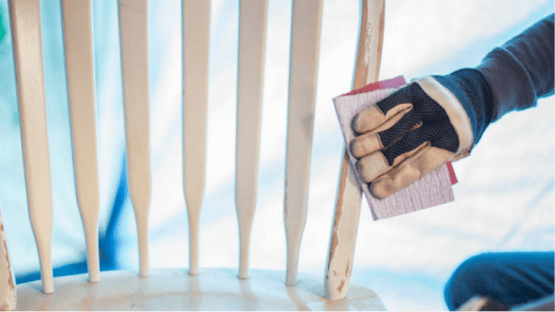
Step 3: Sanding it Down
The next thing you need to do is remove the old finish from each piece. In most cases, you will want to start with a medium to fine grade paper (around a 150 grit is usually good) to roughly remove the old finish from the larger surface areas. You will want to rub with the grain of the wood, but if it is already painted, and you can’t see this immediately, you can choose a very small portion to lightly reveal, then continue.
When you’ve finished with this, you will then continue with a finer grade paper (like a 200 grit) to touch up any corners and grooves. After you are finished, be sure to clean all the pieces and surrounding area of any dust.
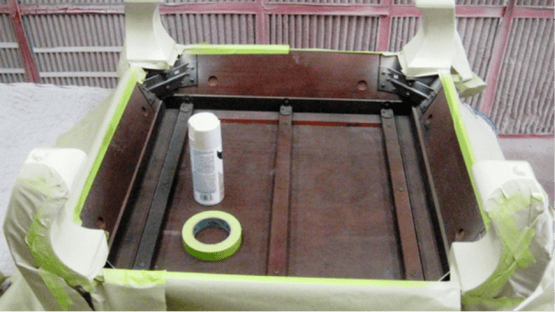
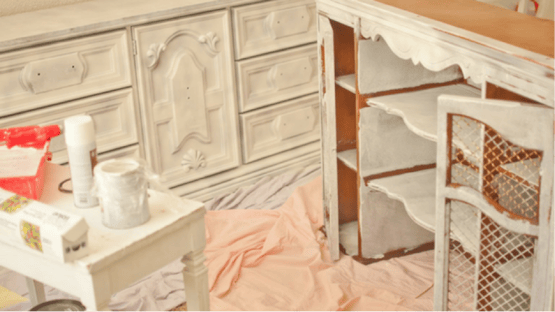
Step 4: Prepping the Pieces
To ensure you do not paint anything you don’t want to by accident, you will want to use some of your plastic and tape to block any portions you do not want painted – eg: insides of dresser drawers or metal parts that can’t be removed. Be sure to wear an apron or some clothes you don't mind getting messy as well!

Step 5: Applying the Primer
The next step is to prime your piece. This is an important step because if you don’t prime the furniture, the wood will absorb the paint, and the end result will be splotchy. Different primers are good for different types of surfaces, so make sure your primer works with wood. You can start by painting it in every direction with a roller or brush, then end in a back and forth motion along the length of the piece.
Step 6: Painting Time
After the primer has dried, you are finally ready to paint. Just like with the primer, you will first paint in a random pattern, then work back and forth. If there are any hard to paint areas in crevices, you can use a sponge brush to get into these.
Step 7: The End Result
When all the paint has dried, you can remove any tape and plastic you used for blocking, put all the pieces back together, and enjoy your work!
If you are interested in starting out and painting a piece yourself, CEWT is offering a course where you will use Dixie Bells chalk paint and be taught first-hand how to paint furniture by a skilled teacher. Call (208) 282-3372 or visit cetrain.isu.edu for more information!